 |
 |
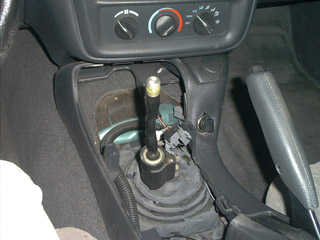
| After removing the shifter knob(make sure the car is in neutral), you will need to pull off the console covering the shifter and the "accessory" compartment, as we'll call it. |
You'll need to remove the 2 bolts on the right hand bottom side of the shifter. Also, remove the secondary casing surrounding the bottom part of the center console. The bolts holding it in are on the sides under the dash. |
 |
 |
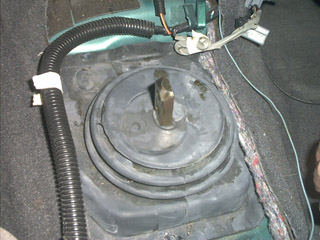
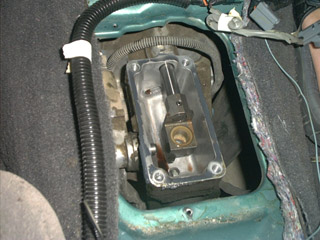
| There are 4 bolts holding the rubber housing onto the chassis that need to be removed to access the shift box. There are then 4 more bolts that need to be removed there, as have been started in this picture. |
Remove the shifter and box casing from the bottom half. It should come up after just a little bit of wiggling and prying. |
 |
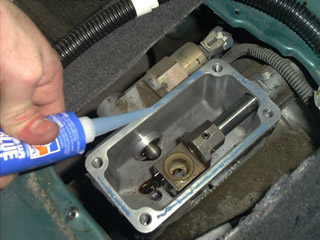 |
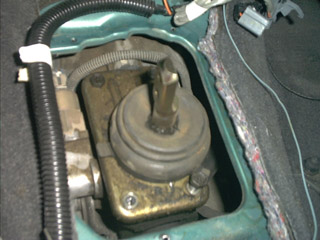
| Here's the gearbox with the top removed. You will need to position the new shifter in the hole here. |
You will need to apply a strip of RTV Sealant around the edges of the box before replacing the box top. |
 |
 |
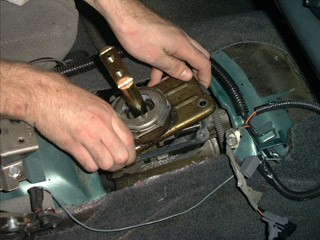
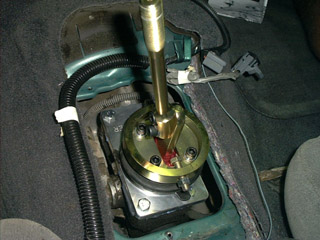
| Here's the new shifter, screwed back onto the casing and almost ready to re-house.You will need to to adjust the two screws above and below the shifter while it is in 1st and 2nd gears. Once in first, tighten until the screw is touching the shifter, then back off 1/2 turn. Repeat for the bottom. |
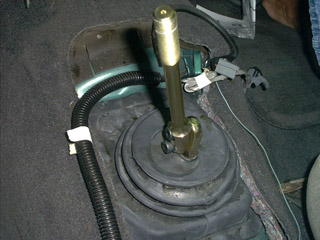
Re-fasten the rubber housing to the chassis. |
 |
|
| Re-attach the plastics for the console, and you're done! Not too hard, eh? |
|